Hackintosh using Z77 Extreme4-m, 7950 and i5 2400
My Handheld Development course has assignments done partially in iOS. All I had to work from home on projects was a Core 2 Duo 2007 iMac. El Capitan installs and functions with decent performance on it, but running a simple Hello World application through the simulator was not a quick endeavor. More like a “hit run and come back after a coffee break” kind of process, not suitable for classwork.
Thankfully I had a spare computer full of parts from various components over the years. Primarily the following:
- i5 2400
- ASRock Z77 Extreme4-m
- Asus 7950 3GB DirectCU II
- 1TB WD Black HD
Thankfully El Capitan has made the process much simpler and aside from audio and networking everything worked out of the box, including the GPU.
Installation
Before beginning the installation I hooked up a monitor to the integrated graphics, the GPU was installed, just not in use. Under the BIOS I disabled both VT-d and changed the primary graphics adapter to the Onboard and allotted 64MB for it.
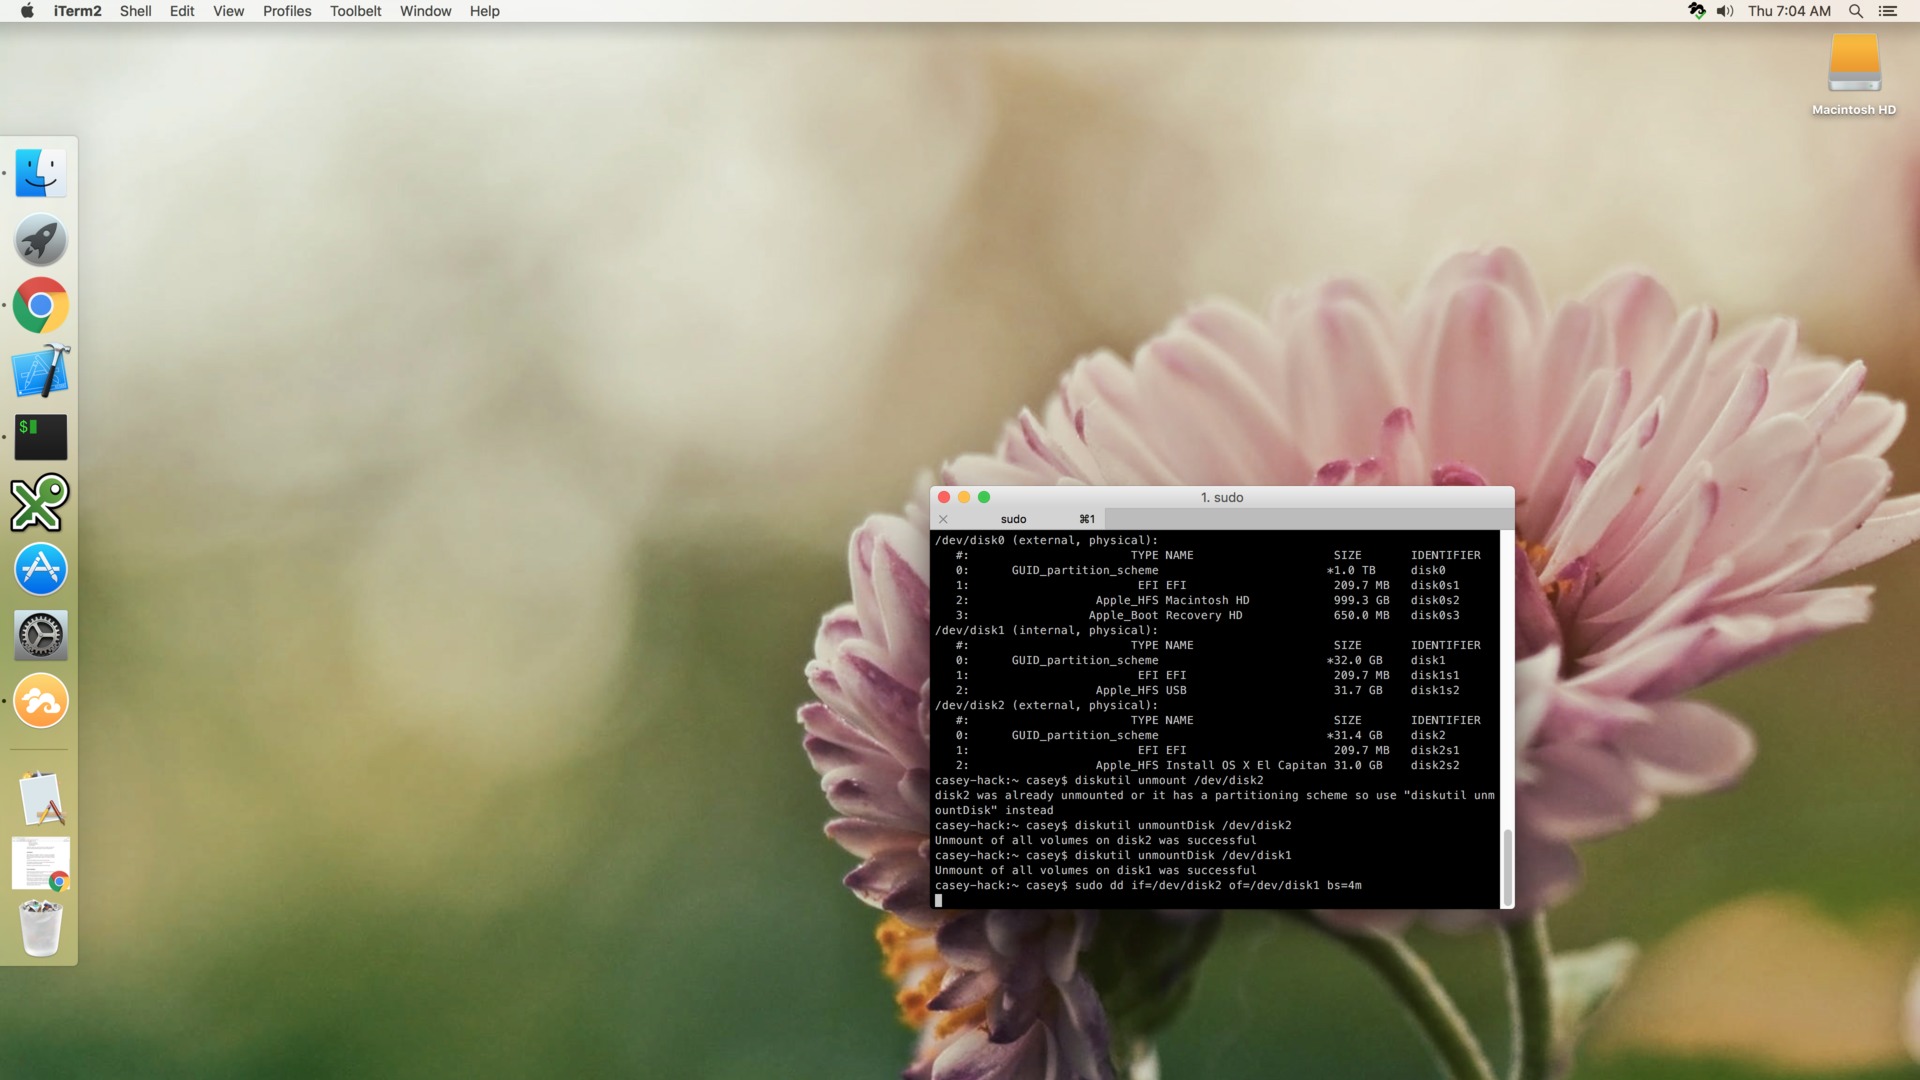
The bulk of the installation process can be done using this guide.
After installation is complete you should have a fully working Hackintosh, with the exception of Ethernet and audio support.
Remember to change the graphics adapter back to the PCIe device.
Post Installation
Grab the latest version of Multibeast for El Capitan from here. Install the latest version of the Realtek Ethernet RTL1118E kext and the 3rd Party SATA drivers. Consider also installing the SSDT (might have the name wrong here) for the Sandy Bridge i5 (the i5 2400 is a Sandy Bridge processor).
Reboot into Recovery Mode and use the terminal. Run the command $ csrutil disable. This should disable SIP and allow you to run the patch for audio.
Reboot back into the standard installation. Then download and follow the instructions here. For me the first command recommended (audio_cloverALC-110.command) worked perfectly. Just run it, restart and you’re good to go.
That’s it, everything should be just fine. The only problem I have currently is sleep does not work. However it’s irrelevant since it’s only used for classwork and watching videos, other than it’s off. Installing the 3rd Party SATA kext fixed the issue as the internal drive was no longer seen as an external device.
